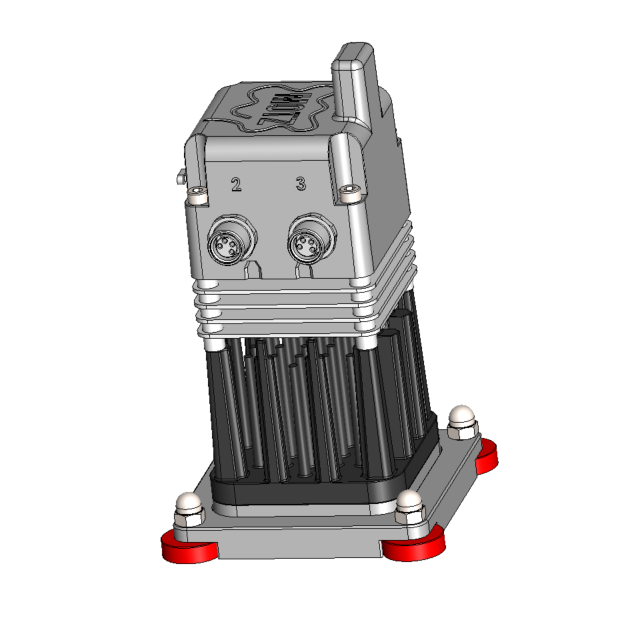
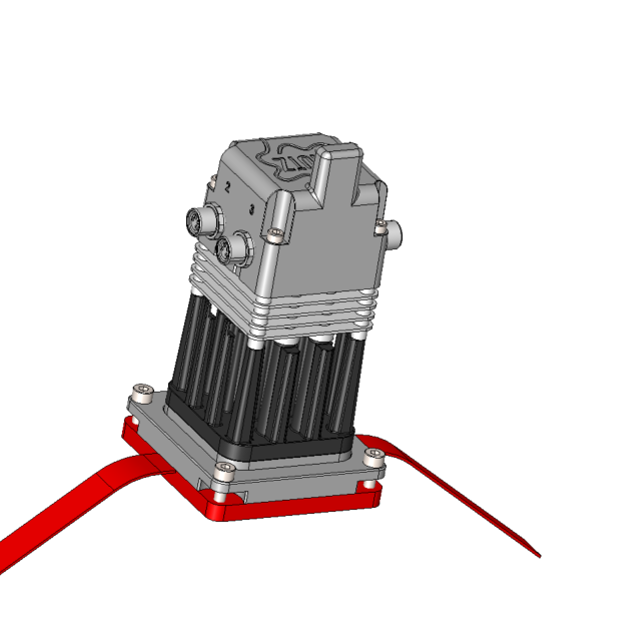
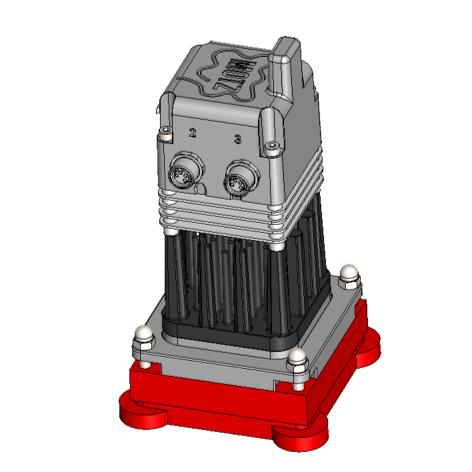
What it is
Harvestree is an autonomous data acquisition unit for industrial measurement and remote supervision. It focuses on low power and long lifetime: software-selectable measurement type per port, internal conditioning on four M8 connectors, and application data over LoRaWAN. No mains supply is required in standard use; there is no field battery swap when thermal harvesting is healthy.
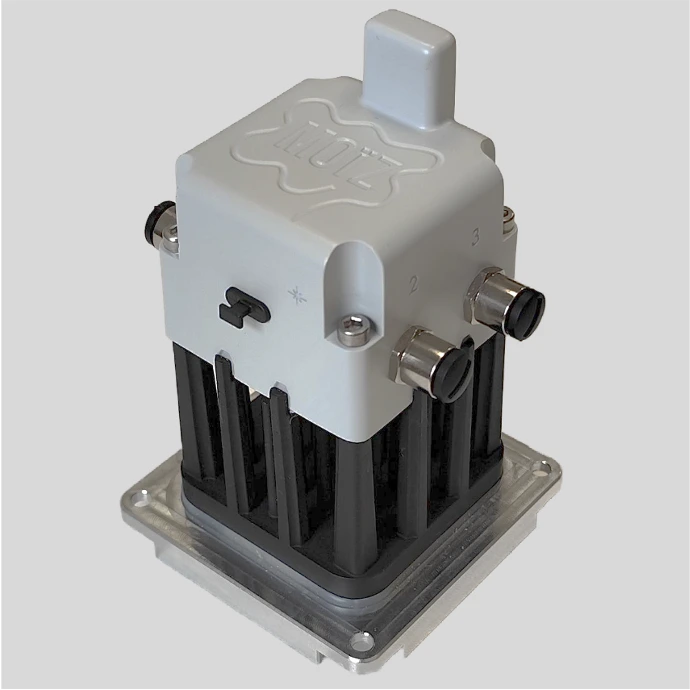
Business data is sent over LoRaWAN. Remote commands and reconfiguration are supported via downlink for a limited parameter set. Commissioning, calibration, network identity, and firmware update are done with Harvestree Toolbox over USB.
Power & join gate
Harvestree runs on thermal energy harvesting. USB-C is for commissioning and optional pre-charge — not the field supply. See the product notice for supercapacitor or battery variants.
On the bench
- Pre-charge on USB if needed
- Configure & calibrate in Toolbox
- End the USB session → radio mode before expecting OTAA
Join energy gate
- OTAA join / retry only if
storageVoltage ≥ voltage_limit - Param
0x0004· typical 3500–4000 mV - Periodic measurements start after a successful join
Quiet on RF with low storage voltage often looks like a “network failure”. Check harvest ΔT or USB pre-charge first.
First join
Follow these steps in order. Region and OTAA keys are set in Toolbox (USB) — not over LoRaWAN downlink.
-
Set the LoRaWAN region
Check the product label reference. In Toolbox, set the region for your country before you expect a join. Network parameters including region are USB-only.
-
Provision OTAA keys (device + LNS)
Read the DevEUI on the label. Enter the same JoinEUI (AppEUI) and AppKey in Toolbox and on your network server. Create the device as OTAA / Class A on the LNS.
-
Optional — finish commissioning on the bench
Still on USB: choose port measurement modes, calibrate if needed, and optionally pre-charge the energy storage before going to the field.
-
Go to radio mode and wait for join
Disconnect Toolbox / end the USB session. Power with a thermal gradient (≥ ~10 °C) or residual pre-charge. Join starts only when storage voltage is above the configured minimum (re-checked every 300 s). Confirm the join and first uplinks on the LNS.
-
Install and connect probes
Mount so the thermal gradient is sustained. Connect M8 probes that match the configured modes — see Ports & probes.
What to verify
| Check | Expected result |
|---|---|
| Power / autonomy | The device starts; with ~10 °C gradient or USB it reaches operating state. |
| Network | The product joins LoRaWAN; uplinks are received and decoded (LoRaWAN · Payload). |
| Sensors | Connected probes produce expected values for the configured port types. |
| Alarms | No unexpected alarm; behaviour matches Operate configuration. |
Mounting
Depending on the installation, compatible options include magnets, screws, cylindrical collars / metal collar adapters, and thermally conductive adhesive. Keep a good thermal path to the aluminium baseplate. Mate M8 connectors fully (IP when mated). Use only solutions suited to surface temperature and environment — see the product notice and MOIZ catalog.